The first game in our campaign ended with a decisive German victory!
Forces
This was an interesting fight as I had no idea as to what sort of force composition I was facing. The Paras had to roll for who shows up, their landing being scattered. Lucius rolled in secret, so little did I know that they were starting with platoon CO, 2″ mortar, missing their platoon sergeant and PIAT team. 1 Section was fully present, with 2 section missing their rifle team. 3 Section with its 2 Bren guns was unfortunately present. The Paras were undismayed and started with a force morale of 9.
I had a full platoon of 3 sections, each with 2 MG42 teams. My platoon HQ was a platoon commander plus panzerschrek team. I had 5 support points so brought on a Pak 40 auf S307(f). The PAK 40 canon is vulnerable on the French half-track chassis, but its 5 HE dice will make a difference. Overall it’s a potent force, but against elites I knew I needed to stick to simple tactics, not rush, and use fire and movement in controlled bounds. My force morale was ok at 8.

The Terrain
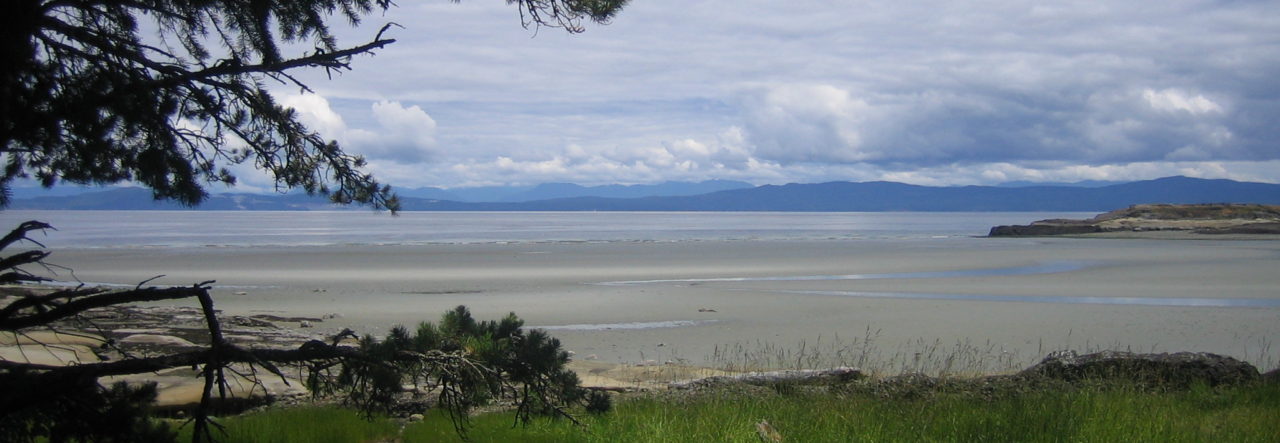
This battle was fought over open fields. As you can see, there is limited cover. The long grass gives light cover to units that haven’t moved in the phase. Otherwise, it’s a long shooting gallery.


The Fight
Despite the Paras having the higher force morale, we decided that the Germans would have the first phase as they were the ones forcing the issue!
For the first several phases Lucius bided his time and we both slowly built up towards a chain of command die (used to interrupt the enemy among other things).
I brought on all three squads in short order, ensuring at least one was on overwatch as I started a slow advance. I mean slow. I was making maybe 3″ a phase. Apparently the prospect of facing the Red Devils was a bit much for the Heer.

I brought on my PAK 40 thing (which was a Hanomag with a PAK 36 – I forgot how small the barrel was to the PAK 40 so I changed it to a Hanomag with a PAK 40 sitting on top and then back during the fight).

Lucius responded with a sniper on the far edge of the table and a mortar team, dropping smoke, not obscuring much, but making me realize that I’d really have to advance in 2 lanes. The sniper’s scope had been misaligned in his landing and his shot sailed wide.

I got a double phase, put my platoon commander on and began to push up in earnest. I made sure my PAK 40 was at range from the closer hedgerow, being unaware that the PIAT team hadn’t shown up. This is one of the best things about Chain of Command and the pint-sized campaigns in my mind. You not only have to keep the bigger picture in mind, you also have to think about what your enemy’s plan is, and what their force composition is, from either the scenario, the platoon being rearranged as it shrinks, or support options.
Lucius then got 3 phases in a row, dropping an effective smoke screen but his sniper was unable to zero his sights over many shots and my squad was equally unable to spot him. We were both just short of a Chain of Command die, and when my phase came I decided to do a big push, but needed to move my platoon commander first. He must’ve tripped on a root as he moved only 2 inches on 2 dice! So, I waited for him to get into position.
Lucius dropped yet more smoke, and his sniper missed – again! My squad caught sight finally, but only 2 soldiers had a line of sight and neither hit the sniper.
I finally began to take good sized bounds, focusing on my left, with a squad in the centre able to support either advance, when the Para sniper finally zeroed his sights and one of my men dropped. I continued to bound forward on my left, supported by the PAK 40, with my right staying in overwatch.

The pressure building, the turn ended with four 6’s rolled! The random event wasn’t a cache of booze, but rather a mortar barrage right over a Para JOP and the sniper! The smoke cleared due to the turn end, so he duly had the 2″ repeat to drop more smoke. 3 Section showed up. Not good. I had hoped they were lost in the hedgerows… He fired with 3 Section at my Squad on my left. 12 dice, but only 2 possible hits and no impact on my men!


The barrage then killed his sniper, dropping his force morale to 8. My PAK 40 and 1st Squad then fired at 3 Section, giving 4 kills and piling on the shock! This was more like it! That mortar barrage was clearly some delayed fire mission that was finally opening up, helping to the clear the way to the Orne bridges.

3 Section returned fire, killing 1 of my men, and with the barrage ending, the Bren team and Junior Leader (JL) from 2 Section appeared near where the sniper lay. They fired but made no impact.

I moved my centre squad to concentrate fire at 3 Section and wiped out BOTH Bren Teams! 3 Section only had 3 men including their JL now. On the right I managed to put some shock on 2 Section.
Lucius decided to keep firing on my right, killing 2 more men but pulled back 3 Section on my left.
I pushed up on the left, slowly moved the PAK 40 to be position to fire at 2 Section, while my squad’s 42s wounded the leader in 2 Section. My movement rolls will need to improve or in the coming games my men are going to be sitting ducks!
Lucius then got 3 phases in a row, rallying some shock and getting 2 section to fire while putting some smoke on, and getting 3 Section’s sniper in the fight. I hadn’t taken many casualties and I had been able to manage the shock with my leaders. I knew the fight was almost done, but despite my own double phase wasn’t able to do as much as I would’ve liked. Still, I dropped 2 more Paras.
Lucius then withdrew.
Aftermath
It was a fun, short fight. Basic infantry tactics worked, and Lucius’s rolling was atrocious. Every time he rolled to see the impact of a hit for his men, it was 5s and 6s. In contrast, I was taking hit after hit with no casualties and minimal shock. Luck is variable though, and next fight the Para’s will have some hard cover. Still, had I charged up the table I would’ve got hammered. Fire and movement really do work.
German Situation
The Kampfgruppe held the field at the end. 4 casualties translates into 2 killed, 1 man missing the next battle in an aid station while the last man would return right away. As my 2nd platoon takes over next fight, I am only short 2 men in 1st platoon, a pretty good trade for the damage done to the Paras.
Von Luck’s opinion of my Kompanie commander goes up to +1, while my men’s opinion increases to +2. So far, so good, but no impact on any support rolls yet.
Para Situation
The Paras were worse off. 9 casualties means 4 dead, 3 missing the next fight, with 2 returning. Their platoon will be down 7 men, not including any stragglers that haven’t shown up. If the platoon sergeant and 2 Section’s rifle team doesn’t show with the PIAT team they’ll be down 16 men!
As a result of the loss and high casualties the CO’s opinion drops to 0, as does the men’s.
The next fight will see some fighting in the farmland just outside the Bas de Rainville. We’re going to 3d print some terrain for it, but we should come to grips again soon!
Thanks for sharing that. Great stuff. I fancy playing this one, but that would mean painting a lot of Denison smocks!
Sounds good looks great
Thanks! It was fun!
Check out this board we did for Stalingrad
http://glasgowwarhog.blogspot.com/2019/
Omaha is also on the blog…
http://glasgowwarhog.blogspot.com/2019/06/