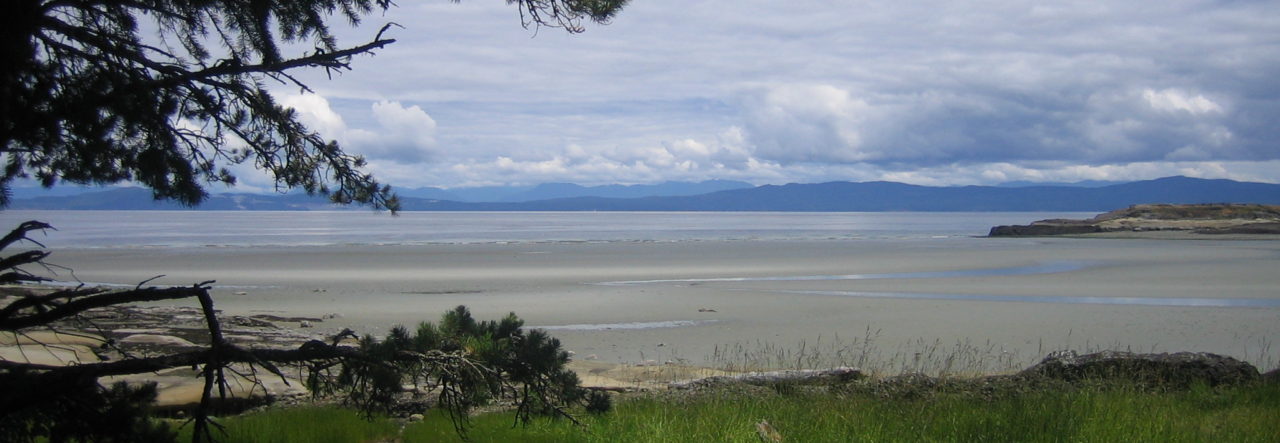
Well, we did have a merry Goblin killing post-Christmas, and my terrain piece worked well. The play report is slow in coming together as I’ve been spending a fair bit of time out of doors or having fun with family. So it will be out in a few days. The we’ll pushing to finish up terrain and prep for the long delayed Arnhem campaign. For now, Happy New Year and here’s a picture of the beauty up here on the coast (when it’s not raining).
Merry Christmas to all of our readers! This is not going to be a year-end post (I hope to be put up an AAR of our Yuletide Goblin Slaying next week), but rather a thank you for reading and well-wishes to you and yours.
Gaming here has been slowed by the great press of family activities, but that is not a complaint – family is very important, as are our unique and interesting traditions that we have picked up along the way.
This is the first post in the new theme I’ll be trying out. The menu is still there – just a bit more hidden at the top. I’ll be trying to get the settings correct over the next few weeks. Bear with me (or send me a comment if it’s becoming a nuisance).
On the gaming side, I have managed to get in a game of “A Test of Honour” and found it to be an engaging and easy to learn system. I will be definitely playing that game again soon. Even better, my friend has enough miniatures that the investment to play is just time – what a great deal!
I have friends who are deployed over the holidays, and I know that there are many who are in danger when the rest of us celebrate. Please keep them in mind and let that frame any stresses or problems you may have. As they say, don’t sweat the petty things (or pet the sweaty things).
Enjoy the holidays in whatever tradition you follow and play on!
My gaming group has been playing some Warmachine and Iron Kingdoms RPG lately, but as mentioned earlier, the man running the game is getting busy. As such, I’ve started to run some adventures set in Middle Earth. It’s a setting that everyone knows, and the published background and adventures from Cubicle 7 are excellent and easy to run.
Now with the Christmas season upon us, I knew that it was quite possible that I would need to run the next adventure in the campaign in very short notice. In that adventure, the heroes are supposed to find a ring fort, or at least the ruins of one. When I think of ring forts, Cahergall in County Kerry comes to mind.
Cahergall near Cahersiveen, Co Kerry. Ballycarberry Castle in the background (which is a lovely ruin). The interior of this ring fort is quite something. Stairs and levels everywhere. It almost seemed like it was half auditorium, half defensive site. (My photo).
While I do want to build up a ring fort like Cahergall eventually, there was no way that I was going to carve thousands of small stones, especially on a compressed timeline. Now, I could have simply drawn out the terrain on the whiteboard we use, but I figured that I could piece together something reasonable with limited effort. My intent was to finish this over the course of 3 dark and rainy evenings before the possible game date. I figured I could spare about an hour each night. This meant I had to keep moving and not let any roadblocks or mistakes slow me at all.
Step One: The Plan
As I was putting my progeny to sleep, I drew out a very simple layout of a ring fort that I could build with some scraps of foam I had. This plan was drawn on my phone, so wasn’t detailed and was also limited by materials hidden away in my gaming supplies: some bits of extruded foam (that I had used under a terrain matt) that were small in size and I had some blue foam kicking around, but not a full sheet, in fact, merely off cuts. The plan was fairly simple. A way in, and out. Two layers of foam to make a hill, some bushes, and ruined walls:
Initial thoughts on the ruin. 2 layers thick, a ruined wall with a small interior wall as well. The “s” marks a statue.
Step Two: Rough Assembly
I started the clock and got to work.
First, the sheets of white extruded foam. Much smaller than I had remembered. My maximum base size was set. I knew that I needed to carve the sides down to make a somewhat gentle slope. That would also reduce the amount of space up top.
With a rough shape for the top of the hill drawn out (and carved by pencil by my spawn), I took my hot wire cutter and started to cut away and smooth down the sides, checking to see if minis could stand on the slopes. There was no way that there was enough room to make a real ringfort, not by a long shot. I had to keep moving and roll with the punches.
The real premise about the ringfort was that it was an old ruin that was also a defensible strongpoint. This meant that as long as this was a ruin and met the criteria of having a way in and out I was good. A ruined tower or part of a larger, disappeared building would work. That allows me to have asymmetry – great, backstory for oddities. I cut up the blue foam into some simple pieces that I tried out against the basic shape of the hill I had.
The second fitting shown here. I was pretty sure that this is what I wanted so I had started to carve off the ends of the walls so they would fit together well (enough). The paths are clearly marked, as is the location for the statue. A smaller scale tree is helping to give me an idea of what looks good where.
I tried about 4 different layouts before figuring out which pieces I wanted on the ground where. The second layer and internal wall bits were moved around a lot, but despite difference in thickness and some awkward joins (I did not accurately measure my cuts to join the pieces together), I figured this was going well. I had a small area for a tree, and another for a statue, as per my original plan. There would be an entrance and exit, and the elevated walls would make this defendable. I used white glue and toothpicks to secure everything and called it a night.
Step Three: Carving the details and undercoating
I guess that is pretty much two separate things, but it took such little time that I lumped this together. I carved the walls while they were in place on the hill. I didn’t use a template at all, just free-handed it very quickly. In 15 minutes I had finished the carving (with some errors) and then threw on a burnt umber coat on the base layer and a strong black on the walls.
A very quick paint job with some inexpensive acrylic craft paints. You can see that not everything is actually in its final form yet. At this point I noticed that the side with the low walls was looking pretty sad and needed a tall tree to balance it out.
Step Four: Flocking
Flocking was next. I didn’t blend anything, or do anything fancy. Simply watered white glue, some flock, and some sand. I left some bare earth areas as well as I felt that it looked pretty good along the steeper edges of the build. I put in a cheap tree from an internet purchase.
A quick flocking and tree glued in place. The piece was starting to come together. You can see some unpainted figures I was using to make sure that the slopes were gentle enough to allow minis to stand on.
Step Five: Grey for the stone
Next was a coat of grey paint. I applied it a bit too thickly in places, but it was another 15 minutes so the return of investment for the time was pretty good.
A coat of grey over the black. The paint dried unevenly as the terrain piece was close to some work lights in my cold addition. I rather liked how it made the paint assume a different colour.
Step Six: Dry brushing the stone
I needed to lighten up the stone. I like using three coats of grey on top of black for stones, with the last being an aluminum white. For this, I only went with two. I simply lightened up the grey and threw another coat on, again a bit too thickly but I think rather effectively.
It seems like overkill but when the piece fully dried it looked much better
Step Seven: Hiding Errors
I stood back and then paused. There were some places that the two pieces of white foam were clearly separated. In other areas the walls were too widely spaced. I wanted to hide some of the imperfections. Mistakes! Never. Flock that! I figured. So I did.
Flock and bushes coveres up most of the gaps in the white foam. I left the rough cut up areas near the top of the walls as I like how it looks. Some poor paint coverage in the far corner was covered with some underbrush and darker flock to make a dripping alcove. I also added some sea foam to make the terrain more interesting on the statue side.
As you can see, the result is pretty good, especially in comparison to a whiteboard. This will hopefully make the combat around this terrain piece be a bit more dynamic and memorable.
Step Eight: Sprucing it up with a simple statue
I really enjoy having the statue detached, as it allows me to change the piece up.
Blocking off one of the ways in but blending in nicelyThe statue blocking off the other entrance, but looking rather stately hereAnd standing proudly on the walls!
There are always flaws in a work, and I can clearly see where I went wrong, and there is also a lot more I could do to make this piece perfect. I will likely work on the flock a bit, maybe add some rubble and some more small plants. But for now, I’m extremely pleased with how this has turned out. It’ll move to a shelf in anticipation of a Yuletide goblin killing with friends.
Time Breakdown: Did I finish it in time?
The total time I spent on this project is roughly as follows (I looked at the time after each bit but I was hardly scientific about it):
25 minutes of drawing on and cutting the white foam
20 minutes cutting the blue foam into wall segments
15 minutes choosing the layout and gluing in place
15 minutes carving relief into the walls
20 minutes painting the undercoat for the ground and walls
20 minutes flocking (hard to say, I was on the phone as I did this and but it was shorter than the call)
15 minutes painting the first coast of grey
15 minutes on the second coat
15 minutes to put on the foliage
So, a total time for the project of 2h40 minutes over 3 evenings (not including the blogging and picture taking/uploading/editing). I would say that doing this in 3 hours of building is reasonable. I did start with a plan, and did think about how I was going to approach each step during the day so there was no delay in getting things done once I repaired up to my hobby room.
Lessons Learned
You can do a pretty good build of terrain in 3 hours if you have a clear plan and aren’t too focussed on making it perfect. Perfection is absolutely the enemy of good enough for fast builds.
Small errors can be covered up and corrected easily at later stages. Like Bob Ross says, there are no mistakes, just happy accidents.
Despite number 2, if you are joining 2 layers of foam, it is very difficult to correct once you start flocking.
Simple trees can really balance out the look of a piece and make it look complete.
Statues and the like, if left unattached, add versatility to the work
Overall,
I hope you enjoyed seeing how I mashed this together. I really enjoyed building this and it was quite something to see it take shape so fast. I have a feeling that once I finish off painting my 28mm WW2 buildings I’ll be getting some foam and making some more terrain.
Well, as WordPress released a pretty significant change to the software that puts this blog up, I’ve started to look more and more at settings. While investigating I found that those using the WordPress App saw this site as “empty”, probably due to the lack of official title on the home page. That has been fixed.
Sharing buttons have finally shown up as I want them, and there is now also a functional option for liking a post (if you click on the post itself first).
While I was thinking of changing the format of the blog earlier, I’ve decided to simply change up the buttons for the major categories on the site. I have learned a fair bit about blogging over the past several months, and clearly still have some way to go to become fully proficient. Expect a possible theme/look change in the coming months. If you have constructive feedback, suggestions, or requests please let me know.
I am slowly working on a references/resources page for historical wargaming with the view to having the major conflicts divided into land/sea (and where applicable air) with some works that I (or others) have found to shed some good light into that particular part of the conflict. Again, a work in progress, and the first post of this page will be coming around the New Year.
Here’s a preview of what I’ll be posting about next: a quick and rough build of a terrain piece for Middle Earth:
The next post will have a brief step-by-step of how I bashed this together in just a few hours with scraps.