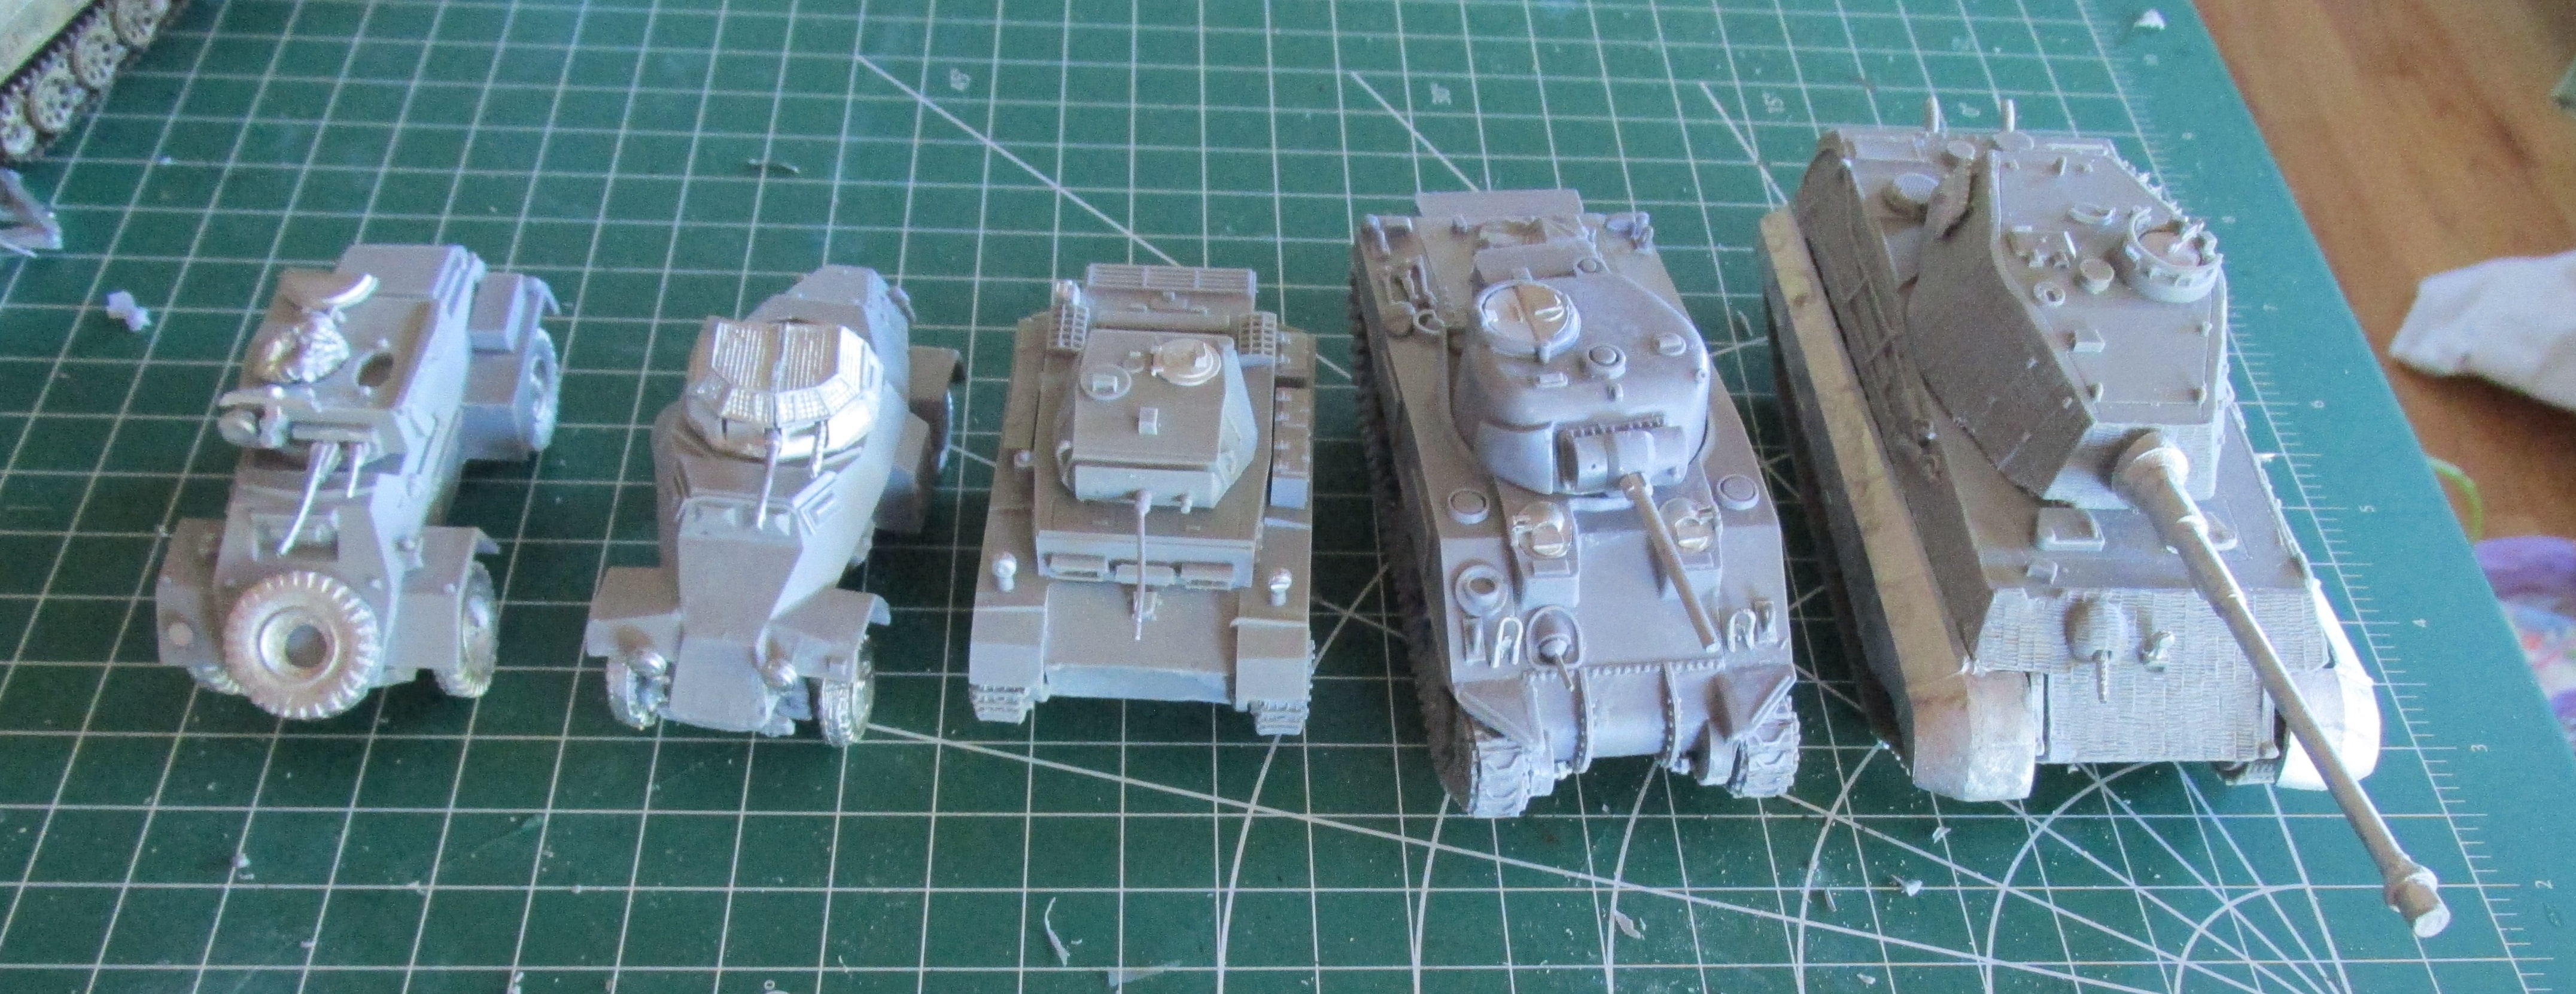
I’ve assembled 5 of the vehicles and have some more points to note. That Opel will be tackled. Someday.
Sdkfz 222
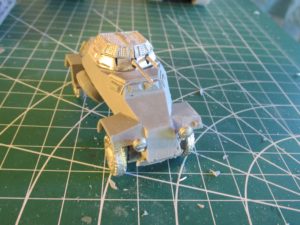
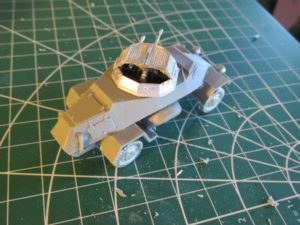
No issues to report. This is a solid kit that is easy to fit together.
Pz II Luchs
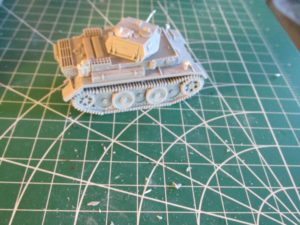
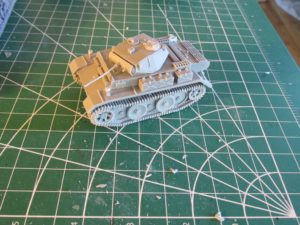
This tank needed some work with the tracks to get them to sit properly. Using heat to warp the pieces to make them fit does work, but track pieces are short and so harder to fix. Otherwise the kit is solid and VERY quick to get ready for priming. This is my favourite kit of the 6.
Tiger II
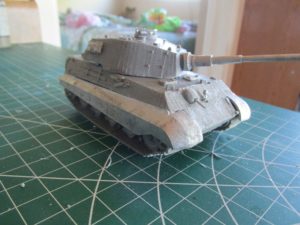
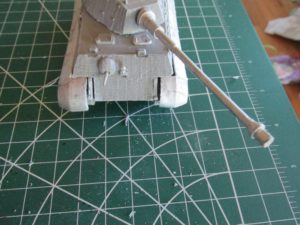
I like this kit, despite its problems. The turret plug is too large for the hole, so I filed it down – a lot. This is not a big deal, but it detracts as it shouldn’t be hard to get the measurements a little more correct. The tracks needed a lot of cleaning and to be warped back towards true, so they were run under hot water as I watched the World Cup on my computer. The track shields/schurzen were frustrating. They do not fit on well, and so are super-glued on there well enough. I dislike doing things ‘well enough’ but hopefully attention will be drawn by the size of this beast and its main gun. Of all the kits, this one needs an assembly guide and hints on what to put on first. I luckily dry fit most parts but had I not, there would have been much sailor talk.
Sherman V
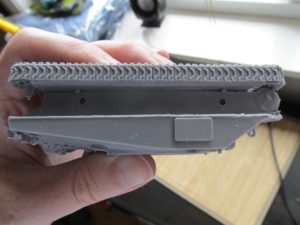
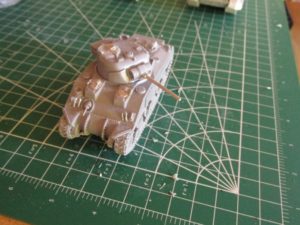
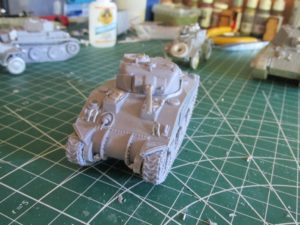
The Sherman has an alignment problem with its track pieces. The holes and joining lugs do not line up. See the picture below. This is amateur hour and disappointing on what is otherwise a good kit. The folks at Warlord should look at redoing the moulds to fix simple errors like this (and to reduce the amount of flash and sprue bits). It detracts from the kit and once something obvious and simple like this is seen, the natural tendency is to look for other issues. Luckily, the problem was simple to solve: I simply cut off the alignment pieces on both track pieces and put it together.
The drive lights and light guards are really fiddly. Too fiddly in fact. But they’re on there. Having worn green for a few years, the typical way of unbreaking a vehicle was brute force, (the vehicle techs use a slightly harsher verb of “unf%^1ng”. Seriously. I’ve heard a senior NCO yell at corporals to take a mobile repair team or MRT out to unf$#* a truck many-a-time). Please, don’t do that with these parts of this kit, either with the language or with the brute force bit. It won’t end well. Tweezers will drop. Fingers will be used to save the day. Your fingers may end up glued together. Or to the glacis. Just saying.
Humber Armoured Car Mk II
This kit is very similar to the Sdkfz 222 and simple to assemble. The extra hatch on the turret (that is for some reason not part of the moulded turret) has gone missing or never arrived. I will be filling in the gap before priming. This kit really could use an instruction sheet for what goes where, as there was much googling, just like with the Tiger II.
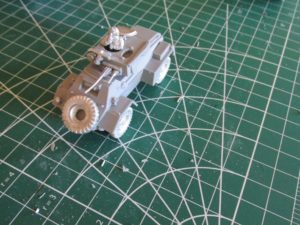
I will be doing a bit of filling with green stuff and then priming. I will keep reporting on these to the painting stage.
A final note: condolences to England fans. I’m not a great fan of football, but I have been following this World Cup. England did very well (in my amateur estimation) and have made me interested in following the sport more closely. It was a good run.
