Dux Dalmor – AAR and some thoughts

Last night we played Dux to get a sense of the rules and how we wanted to adjust things for our upcoming campaign.

I had hurriedly painted some Warlord Celts and GW Warriors of Rohan. I still haven’t flocked any of my troops, so I painted the Celt’s bases brown as the white (my first time priming troops white instead of black) was too much. The Celts aren’t finished, and need a wash, but here is how they were last night:

My unfinished Celts and some Rohan Warriors

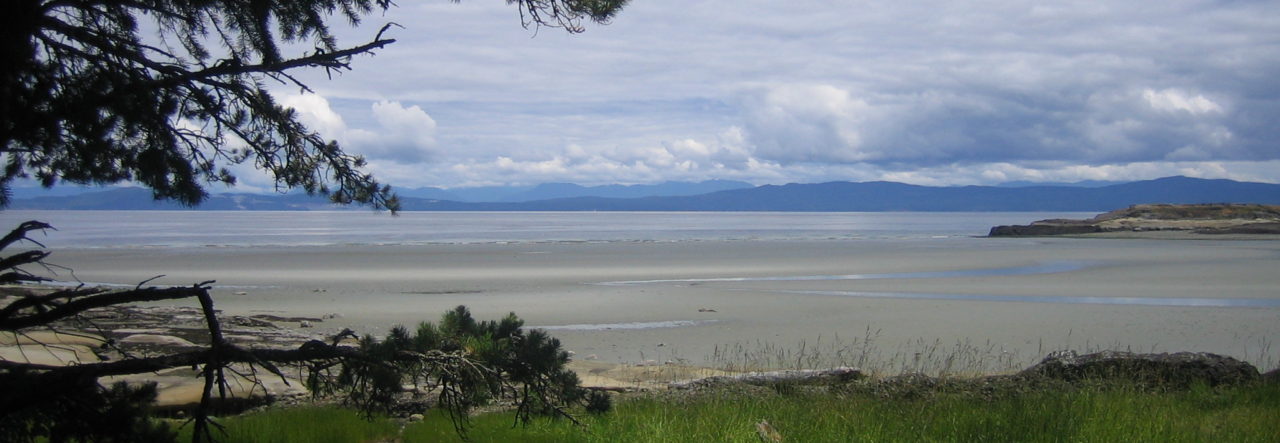
I just received my order from Cigar Box Battle Mats. I’m very happy with them, but strangely, the green mat photographs as brown at night. In any event, instead of doing the standard player-positioned terrain, I threw some of my more fantasy oriented terrain on the table. The table was set up as follows. The scenario was a raid on a church, in this case a holy site represented by the fallen standing stones, circled in red below:

The town and objective, circled in red. The Iron Band entered from the far left, while the local forces entered on the lower right.

Nate took the forces of the Iron Band, while Matt took the Rovians. The Rovians, in my world, are a group that’s very much a mix of Etruscan and Masilian culture, so these are the peasant remnants of a once proud culture. The Iron Band are a medieval mercenary band that is fairly professional but overstretched and using whatever forces it can.

We started the battle with some speeches, drinking, and a duel between champions. I really enjoy the Dux Britanniarum rules for this. Makes it feel much more primal. The dueling rules are interesting, but are a real game of luck. As we move into the campaign, we’ll start giving the champions more skills or saves to make it more interesting and make it more of a decision to engage in combat or not.

The two champions fight it out. The Iron Band Axeman wins!

As the raid started, Nate had two free turns to get towards the shrine, but the stream slowed him down. His missile cavalry shot ahead and managed to get a kill right away as Matt’s Rovians entered and rushed pell-mell towards the shrine. Then, the horsemen got caught flat-footed as a group of Rovians ran (rolling 5s and 6s for movement) right at them, with the result being the horsemen fleeing off the table. Matt then anchored that group of warriors near an old ruin and moved the remainder of his force to guard the shrine.

The Iron Band moved its Scarecrows (levies) up to the shrine, but ended up facing off against the Rovian Elites. The bulk of the Iron Band moved ahead, seemingly ignoring the shrine.

Matt was trying to deny access to the shrine, so Nate massed his troops on his right getting ready to charge. Meanwhile, the Scarecrows, facing off against a much, much more powerful foe and already suffering shock from the arrows fired at them, charged. And won! They accrued a huge amount of shock, but managed to kill 3 of the elite facing them, causing both forces to recoil.

The Scarecrows (levies) attack the Rovian elites

Nate then charged across the stream, accepting a dice penalty but rolling extremely well. Matt’s saves were terrible, and his force was massacred and thrown back.

In the centre, the Iron Band elite troops (Rohirrim here) pushed forward with their leader and champion and again delivered a crushing blow.

Matt followed up, chasing the Scarecrows and the rather ineffective archers but the game was pretty much over as Nate prepared to move his troops around to finish off the opposition so we called it.

I’m trying to learn how to get a slide by slide view of this, so here’s the first attempt. Just click to the next slide to see how the action progressed. The next AAR should have some fancier transitions/graphics.


Overall, a very fun game, but it does have some issues. The raid turned into a battle. After the Rovians anchored themselves on the objective, Nate simply viewed this as a fight, not a raid, and proceeded to wipe out opposition. His intent was to continue to wipe out the enemy so no one could contest his retreat. There was no feeling or impetus to be quick about it once he had achieved superiority.

So how to fix it? We talked for some time about different ideas and came up with the following:

As we are doing simultaneous raiding, unlike in the normal rules, the raider does not know the number of foes they are facing. So, every round after the “free” rounds that the raider has, the defender rolls a die for each unit. On a 1 on the first round, the unit shows up. On a 2 on the second round, the unit shows up, etc. These dice rolls are done in secret. This means that the raider does not know when the bulk of the defenders will show up, nor how many may be coming. The defender can also bluff on this, using troops more or less aggressively to convince the raider as to their force composition.

Adding to that, we are going to establish the maximum amount of loot in a given objective. The defender will hold that number secret. The raider can double the time on the objective in an attempt to double the take, but it may be possible that there is no more loot, and the effort is wasted. This brings the greed aspect into the game, as the raider may be tempted to wait a little too long as the defenders come onto the table.

All in all, a good evening with good friends. Nate has decided to take on the province of Gron Gard, while Matt is taking the more central Rikdal. There will be more to follow!

Dux Dalmor – Fantasy Dux

As I mentioned earlier, I have a plan to run a Dux Britanniarum in my world that centres around the Daughter of Rovas and the land she disappeared from hundreds of years ago. My RPG/Wargame went well, but life is making it hard to keep a consistent schedule for an RPG. So, I’ve made up a few changes to Dux and am going to run a campaign. As people are able to come over, we’ll run the game and see if the Iron Band can continue to expand under the guidance of our erstwhile heroes.

The area that will be fought over. Note that the Dalmorian names are in the south, where our heroes are starting

The Gardal

A rich area at the northern end of the Burway, the area is almost all farmland, with few pockets of wilderness left. Market towns dot the area, and there is little evidence of the collapse of the Rovians except further north near the plains where ruins poke up from under bushes and are turned up by plows. To the west, the Dunwood is known to have many gobblins, so-called eaters of the dead. They dislike water, so are mostly seen in Grontoft and Grongard. The Greenwood to the east is known to lead people astray, and there are stories of walking trees and the dead following the flutes of majestic creatures. Shren Nesna is a hilly area full of ruins that is the biggest reminder of a fallen civilization. No one claims it, and strange magicks are often attributed to it. The tower near the Greenwood in Markadal is the ancient tower of Con Adoran, one of the few active towers of the Dal-Amach, the Blood Mages. Thus far the Dal Amach have not entered into the fighting.

Campaign Overview

The Iron Band has proven its worth in pacifying the lands beyond the river Celental. With the departure of the Southern Banner forces of the Rovians, the King of Dalmor’s control is uncontested. Or it should be. The Duke of Florick has finally risen in revolt. The Earls of Steirlund have declared their fertile land off limits to either group. Local lords and rebels north of the river Tula, ostensibly not under the control of the Regent of Rovas, are hiring mercenaries and attacking Dalmorian forces belonging to anyone. At the same time, the Alfar, the faerie folk, have been angered by the disregard of the Treaty Stones. Gobblins and worse have attacked farms but have so far refrained from open conflict. In order to calm the situation, the King has ceased his push north and is moving the bulk of his forces south. He has commissioned the Iron Band to hold the area north of the river Tula while his loyalists fight the rebels in the Kingdom.

Campaign Objective

The Lord Commander has assigned small forces under your command to hold the Burway north of Tur Malen, a fertile area known as the Gardal. You are to raise your own forces and, if possible, expand the areas under the Iron Band’s control. Your centre of effort should be to push the Rovians back and take the key city of Athramere and then threaten Tur Heva. With the Gardal secure, the Rovian forces will be forced onto the plains of Mag Ushil. Once your forces are robust enough, you will be directed to take Tur Heva. Then, the eastern flank of the Kingdom will be secure. As you become more successful, you will rise in the ranks and gain more wealth and power. Note that taxes of a Beggar’s Bowl are due to the Iron Band every year. This is can be offset by the natural wealth of the Gardal. Every year, roll 1d6 per province you hold. On a 6, you gain a beggar’s bowl worth of wealth.

You and your peers will each have one province to start from: Grondal, Rikdal, Wegrik.

Procedure

At the beginning of each month, declare if you are going to be raiding, resting, or contesting ownership of a province.  Your starting forces may seem large, but due to the tense situation they are required. You must declare how many troops you are leaving to guard your lands from others including the Alfar. Any troops left behind will be led by your lieutenants and subordinate leaders.

Raiding

Declare which province you are raiding. Consult the Table of Raids, set up the table and fight!

Resting

If you are not engaging in conflict, you can build up your forces. If the Alfar attack, your whole force can be used against them.

Contesting Ownership

This most likely means a battle and can only be done at the rank of Captain or higher for the Iron Band. If the enemy forces are weak, they may retreat behind their walls and remain under siege. If friendly forces arrive to engage the besiegers in battle, the weaker forces can join in. If the siege is not lifted by friendly forces, the remaining enemy will surrender when the siege ends. Note that if we get large enough forces, we may use Hail Caesar for battle resolution.

Alfar Interference

Every month, after you have decided your action, roll 1d6 per province you hold. On a 1, the Alfar will conduct a raid on that land, regardless of what your forces are doing.

Forces

Most of the professional soldiery of the Iron Band are tasked elsewhere. Your starting forces are as follows:

Leadership

Status III Reeve
4 Status II Lieutenants (you can only bring 2 with you on a raid)
1 Champion

Foot:

Elite – The old “heavy company” of the Iron Band. These warriors are experienced and well armed and armoured. You begin with 1 group of 6 Heavy Company fighters.
Warriors – The bulk of your forces. You begin with four groups of 6 warriors.
Levy – Scarecrows. Following the traditions of the Iron Band, the newest recruits are called Scarecrows and classed as Levies. You begin with two groups of 6 Scarecrows who are just learning their way.

Cavalry:

Shock Cavalry – Heavy, armoured warriors. As you become more successful, you can gain some.
Light Cavalry – Light cavalry armed with bows. You begin with 3 of them.

Skirmishers:

Archers – You have 5 Iron Band Archers who are unique as these troops can be used in combat as Levies. They are difficult to train, and take 1 additional month to replace compared to the type of losses incurred.

I have the career progression for the players updated, it is right  here.

In any event, those are the instructions to the players. I intend to post the outcomes of their campaign on here. Next weekend I’m hoping to bring some of the guys together and experiment with a battle or raid and then kick this off.